Friday, August 12, 2016

I'm moving....

After a few slow years, I'm moving my blog over to

EmmaWilkinsonDesigns.com

It will be most likely the same kind of fun content, I've just decided to streamline my branding. I also believe a blog is like a story, and chapters must come to an end. This is the last chapter of this blog, but not my whole blogging story.


Most content will be eventually moved to the new blog. 


Thanks!

Sunday, July 12, 2015

Introducing - The Starburst Square!


I've been working on this pattern for quite a while now. Since Easter, in fact! I'm very pleased that it is now ready to be released.
It is currently on ravelry (interested in seeing all my designs- click here)

The pattern will be for sale, but for my readers, until the end of July (midnight AEST) is will be free with the coupon code STARFREE
find it here: http://www.ravelry.com/patterns/library/starburst-square-3

thanking you for your support!

UPDATE: Thank you so much for all your support. My pattern is #1 on ravelry's 'hot right now' list!

Wednesday, June 24, 2015

Back loops and front loops!

Today I am redoing an older blog post, with a little editing! Back loops, front loops and chain spaces - where to put your hook. I will be posting some of the things that I am covering in at Crochet Club!


This is the back loop.


This is both loops. You may find that this is often the default place for the hook to go. If a pattern doesn't say anything, this is where the hook goes.


This is the front loop. 


Working in the back or front loop only creates a different drape, and allows loops to be left for surface crochet and other more advanced stitches


You don't always use the loops, you can also work into chain spaces. Granny squares for example, work through the space and not into individual loops.


We also can use the stitch post, and make front and back post stitches, they are a little more advanced, but I will cover them soon!

Wednesday, May 20, 2015

How to add a button to your blog


The only coding I know is what I have learnt for blogging, and this particular piece of code has helped me many times. It can add a professional touch to your blog.

I either make my own buttons, using a photo editing program, or use free downloads. I then upload them to photobucket.com. You can use any photo hosting site, I have used photobucket since the heady days of myspace, and it has not disappointed me.

You also need a sidebar, or space in your layout for the buttons to appear. They can appear within a blog post, but for handy links, make them obvious.

In blogger, you can click on the 'Design' link, next to where you sign in, Then find 'layout' and click 'add a gadget' in whatever location you want to add a button! There are many gadgets to choose from, but choose the HTML/JAVASCRIPT option.


This is my welcome button. The code looks like this:
 <a href="http://howtocrochetaheart.blogspot.com.au/p/about.html"><img src="http://i149.photobucket.com/albums/s80/emmatane/welcome_zpsvqxrz58r.png" /></a>

Looks crazy! But lets break it down.  <a href="******"><img src="*****"></a>

<a href="This is where you want to click to"><img src="This is your image link"></a>

Copy and paste the link of where you want to go when the button is clicked, and paste that between the first two quotation marks. Copy the direct link, if you are using photobucket, or image URL and paste between second quotation marks.

Super simple and super effective! 

Hope you can use this on your blog. 


Tuesday, April 28, 2015

C2C - Corner to corner crochet


I've been making some little c2c squares (corner to corner) out of some little mini skeins. They were too cute to pass up. Although the squares are very different in construction to a granny square, they are similar in the sense that they work in clusters and can grow as big as you like, or like mine, you can make little squares and sew them together.


It has been fun making something so colourful, and fun to try out the little mini skeins. As small as they are, they do get a far amount of mileage out of them, and would be perfect for someone wanting to learn crochet, maybe make a granny square, or amigurimi! The exact yarn I used is discontinued, but I found this substitute, in case you'd like to make some yourself:


Thursday, October 23, 2014

My Blogs Not Dead, it's Just Gone to Bed

For the first time in nearly a year, I feel like blogging again!

Since it's been a while, I don't expect I'll get too many hits on this post!

Why did I stop? Well, I wasn't enjoying myself, and put a lot of pressure on myself. I've missed it, and want to start again, but I've got no plans or vision at this stage :)

I'm not going to set myself up with any ambitious projects that I can't complete. I will keep all my old posts up because I am proud of them, and still get lots of traffic. I might even repost some of my old favourites, for any new readers out there!

I've just gone back and re -read some of the last few posts.. lots of excuses there, no one wants to read that! Don't worry, I'll be back in 2015 with lots of interesting crochet and craft to keep you interested!


Monday, February 17, 2014

Happy Valentine's Day!

Last Friday I participated in One Sheepish Girl's Valentine's Day Heart bomb. I've got some photos on instagram, and you can see more of the photos over on her blog (onesheepishgirl.com)

One of my heart patterns, the granny square heart,  was picked up by Mollie Makes blog, so Hi to anyone new stopping by from there!


I've become a bit of a haphazard blogger, and still adjusting to our new year routine, Will probably have it sorted by Easter!

Tuesday, September 24, 2013

Buy Nothing New {September}


Last September, inspired by Patchwork Cactus, I attempted to buy nothing new for a whole month. I ended up getting a new tattoo at the end of the month, which was right at the end, but at the time I felt like I didn't complete the self appointed task.

This year I thought I would try it again, and I might even make it a regular September occurrence. The idea is to buy nothing new, except food and basic necessities, but you can buy second hand.

So far this month I did buy a bag which I needed for work, and a new bronzer, but I also bought a preloved designer top from a market, and a huge stash of wool.


 I got 4 bags of woollen yarn for $24 and estimate that is would have been close to $70 if I had bought it new. All the yarn I checked was in the same dye lot -I got three different types all up,  and I like the vintage-esque labels! I probably could have negotiated a cheaper price as I was at the markets, but I liked what I was getting. Right now I am airing it outside, because I'm not sure how long they have been bagged up, but there really wasn't smells or mustiness that concerned me.


I'm looking forward to making something fun, I just have to choose what!


Thanks for reading! 

Wednesday, August 14, 2013

Loom knitting with the Amazings : a review


I was very happy when I was asked by the Amazings to review one of their online courses. I had been curious about loom knitting, as I had been seeing the circular looms at my local craft shop, and seeing the opportunity, to not only learn the basics of loom knitting, but also make a complete finished item, how could I say no!
A still from the online course
my own looming

The Amazings run online courses with wisdom from elders (all over 50) with amazing life experience, so you are learning from someone who has been crafting in their field for many years.

The courses have a full list of supplies needed to make the project. In my case I was loom knitting a beanie, so I needed a loom!

I watched my course before starting, as I had ordered my loom online and had to wait a bit, but what I liked about the course, was I could have easily worked along with the video without having watched it first. The instructor (Dot) wasn't just demonstrating, she was also teaching someone on screen which made it really relateable and easy to follow. The videos are cut into chapters, which makes it really easy to go back to a step, or pause for a while.

The hat made during the course

One thing that surprised me was just how fast loom knitting was! The course is a total of 90 minutes, and even though I didn't make the bobble, it didn't feel like it took me much longer than that to have a full finished hat in my hands! I didn't time myself, but it was defiantly a productive afternoon.

So in conclusion, I am a loom knitting fan! If they offer any more advanced techniques, I would be very interested!

The courses do cost money to sign up to, but if that money is going towards more tutorials, then I can totally see the value in that, and showing the elders that their craft has value in today's society.

And my finished hat?


Here it is!


And if you enrol into a class before the 15th of September, you go into the running to win a sewing machine! There is no expiry date on classes. Another bonus!

A few handy links
Link to the loom knitting course
and where I bought my loom online

Tuesday, August 13, 2013

Loom Knitting via The Amazings


 I'm trying out something new.. loom knitting!


Thanks to The Amazings, I am trying out an online course. 

The Amazings offer unique online courses from experts in many fields. It's like learning to knit from your Grandma.

My full review will be on the blog soon.


Wednesday, June 26, 2013

Popcorn Stitch Tutorial


It has been a while since I last post a tutorial! I have been making a hat using popcorn stitch. I'm really happy with how it is turning out. Popcorn stitch is a textured stitch, and quite an easy and effective.

Generally speaking, popcorn stitch is done with 5dc and not 4 like I have done. Truthfully I was trying to use less yarn!


To make one popped corn, 4 dc. (4 tr for UK)
 (The first popcorn of a round has 3ch and 3dc)


Remove hook from work. (While not necessary to pull a loop as large as  I have done, it does help if it is bigger than usual)


Hook through the top of the first dc then back into last hook, pull back to normal size


Yarn over hook and through both loops


In the hat I am making I am putting one chain in between each popcorn, and each row is worked into that chain space of the previous row.


I've been working on this hat for a while now. I'm joining in with Crafty Mummy to finish a UFO (unfinished object!) This is my UFO! and it should be finished very soon.

Tuesday, April 16, 2013

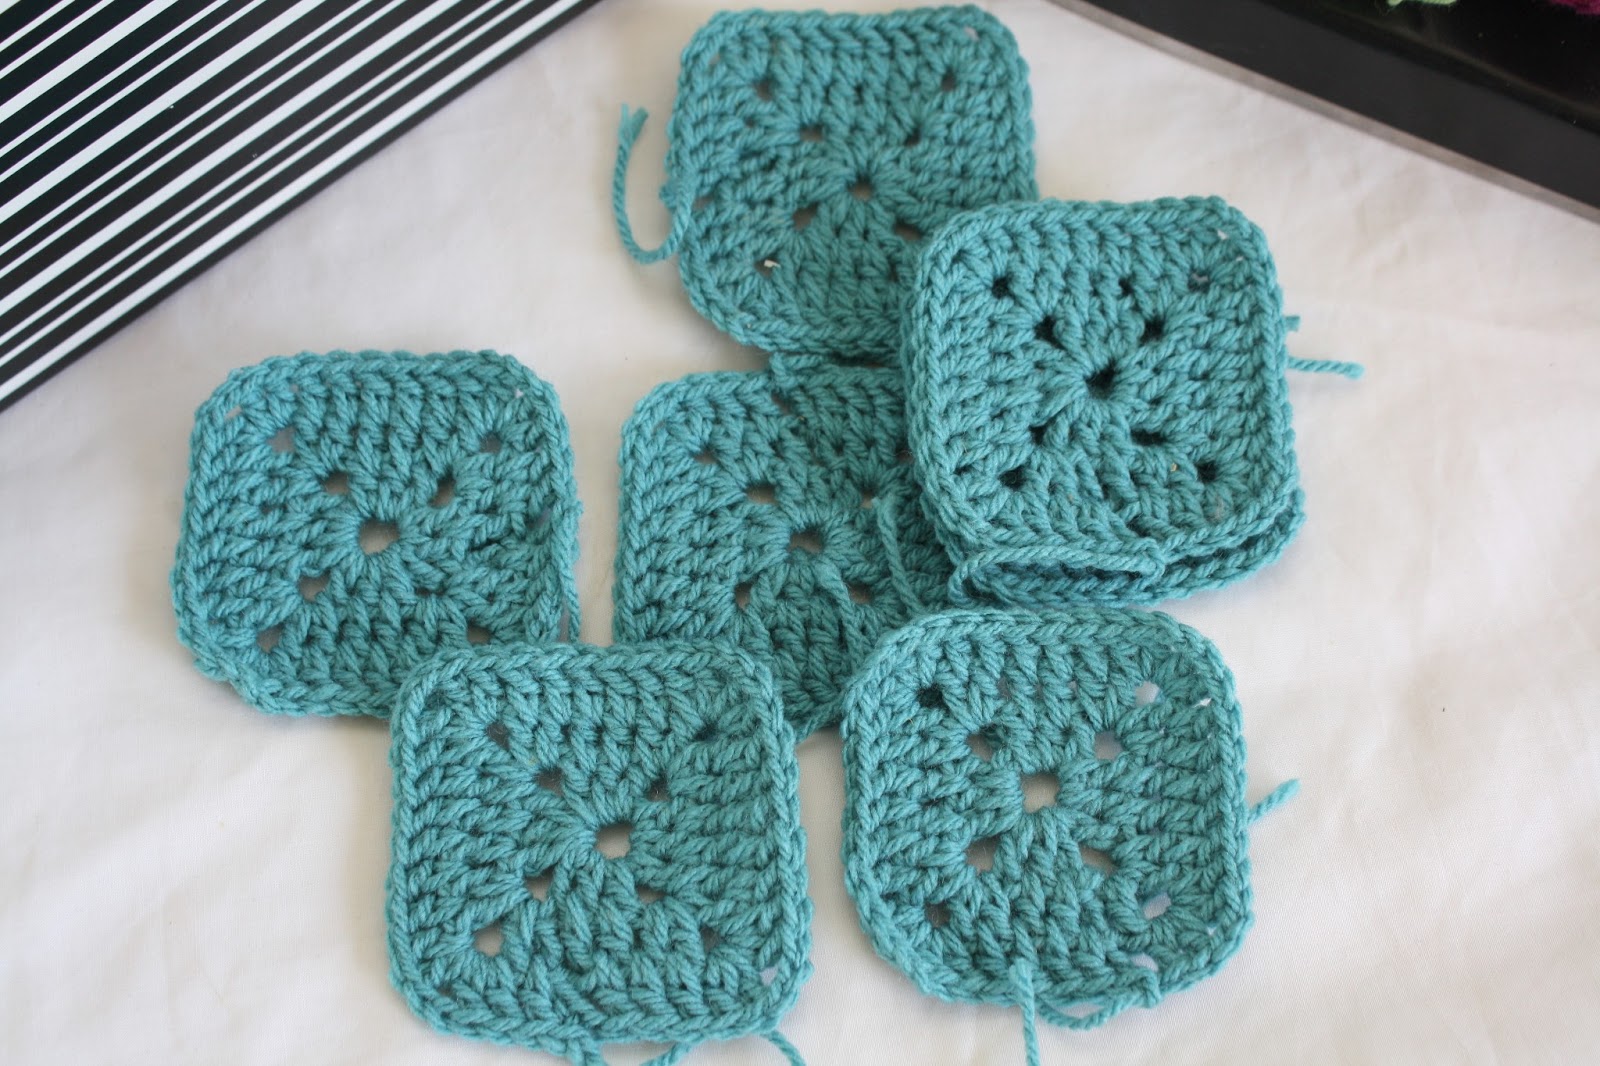
Squares for Charity


I've found out about another square drive via instagram. This one is called Squares for Charity and is asking for 4" squares (knitted or crocheted) to make into blankets for rescued race dogs: whippets and greyhounds.

This charity drive is based in the UK, but every square counts if you can send 10, 1 or 100.

For more information, and the postage address check out the Squares for Charity blog


If you need a basic Granny Square Pattern you can use mine here, it is for an 8" square, so you will only need 4 or so rows depending on yarn thickness and gauge

For another alternative pattern, my Solid Granny Squares You need to add one more row of dc, then a final border of hdc to make them 4 inches.

Thursday, March 28, 2013

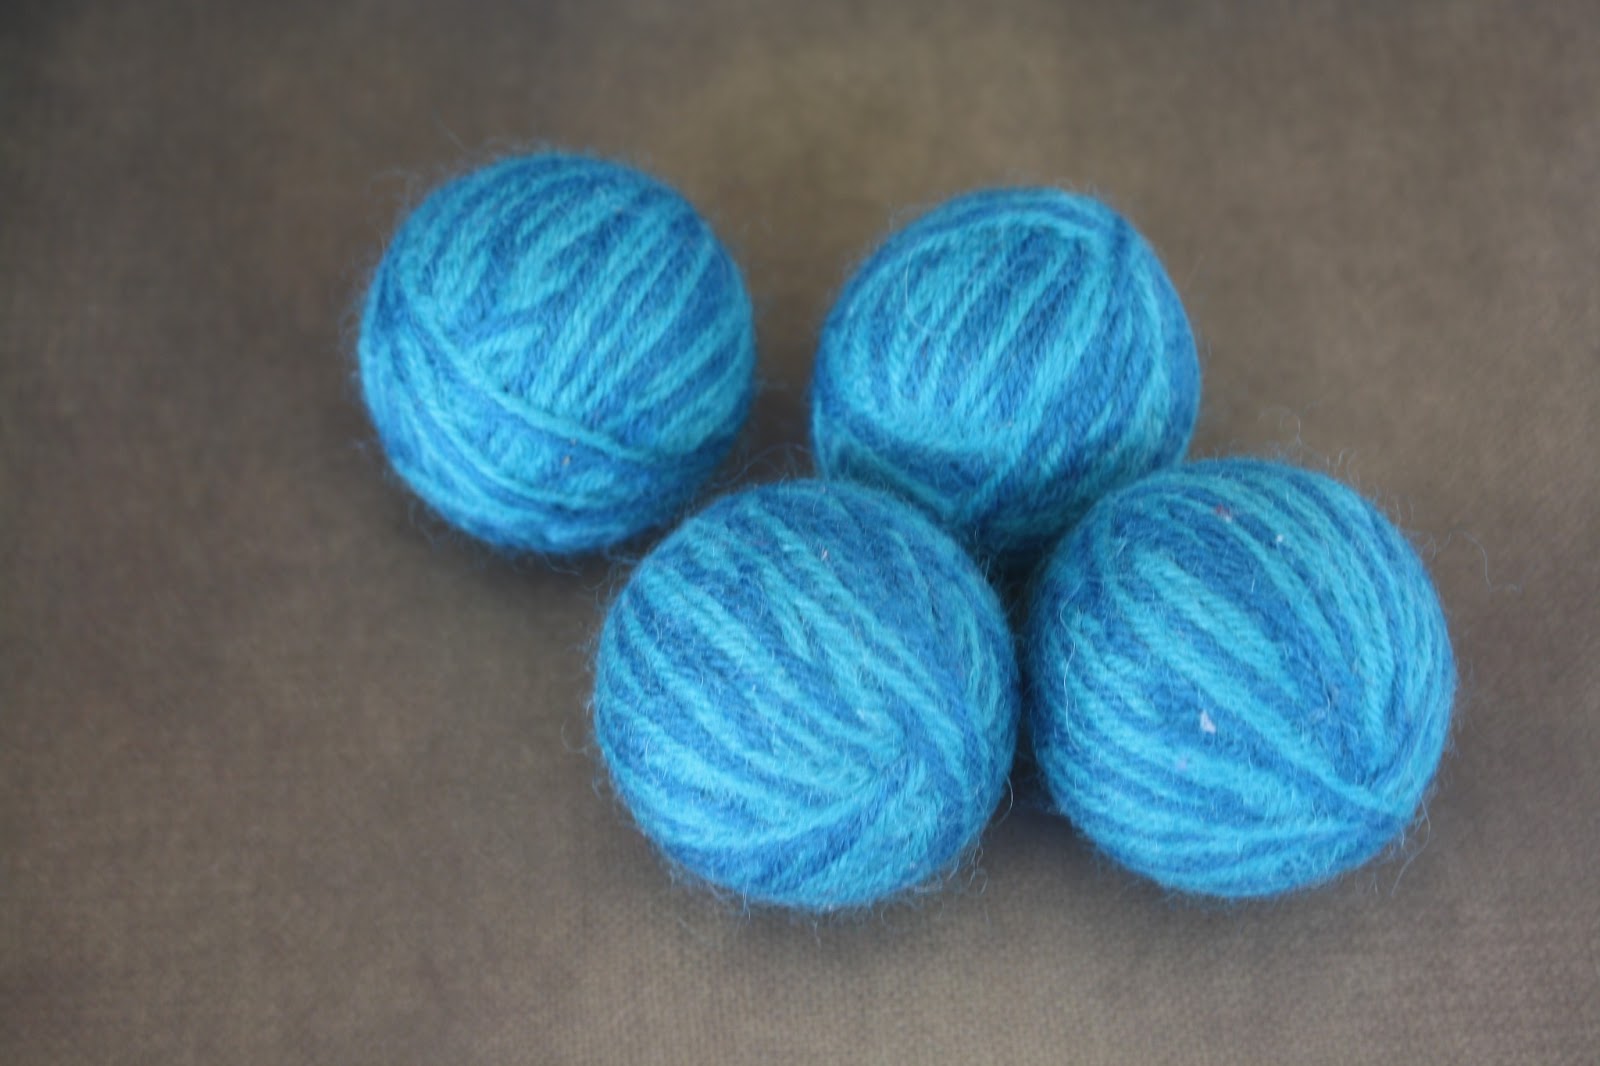
dryer balls


I've been making myself some dryer balls, as the cold season approaches. If you haven't heard of them, you put them in the dryer and they absorb some of the moisture as well as softening clothes, and they should reduce the overall drying time.


I have listed some in my Etsy shop, in case you just don't feel like making them yourself, but if you do, here are the easy instructions:

Using pure wool, roll your yarn into a ball. I used a felting needle to help shape them. Then, when they get to the size of a walnut, I put the in a lingerie bag and toss them in the wash on hot (everything you know you shouldn't do!) Once dry I repeat the process twice until they are almost the size of tennis balls.  If you don't have a lingerie bag, I have read a sock can also work.


Wednesday, March 27, 2013

Bicycle Seat Cover

Last year I made myself a bike seat cover:


Well I finally finished the pattern, and I have had the pleasure of guest posting over at And Sew We Craft, please pop over to make one for yourself!

I've had a request to sell products from this pattern. The answer is yes. Send me your photos if you do!

Friday, March 1, 2013

Granny Heart Squares {an update}


When I first published the pattern for these Granny Heart Squares I said I would update my progress as it was going to make up into a baby blanket for my friend. Confession: I haven't done much progress.

However since the pattern has been shared on the Mollie Makes blog, I have had a few people share their versions with me!

Mazie Hutton from maziehutton.blogspot.com

Brenda Rhodes via Facebook page
Liz Croft via Facebook page

From Mollie Makes Facebook page

 And this big one has been sent off to Tasmania to be part of Woollies for Tassie:


I really love seeing the different ways the pattern has been interpreted, and seeing colours I may not have chosen myself.

I hope to get some time to finish my baby blanket soon. I have until June!

Emma


Sunday, February 10, 2013

{10 days of Hearts} Day 10: Line of Hearts


Final Day of my 10 part series, and this final project is a little different, because I have not made one... yet.  As always I am browsing pinterest, finding new trends and ideas and I found this edging pattern from Rainbow Knits, A Line of Hearts. I asked if I could feature it and was very pleased when she said yes.

Pattern is available as a download, just click on the above link, or on the picture linked through pinterest.

Such a lovely idea, and I may be finishing off my granny heart baby blanket this way. It would also make a gorgeous scarf.


And this brings us to the end of the feature; 10 days of hearts. I hope you enjoyed! You can find all the links at any time under the 'hearts' washi tape button on the left of my blog, but here is a quick summary for you.

Day 1, Heart Ornament. Day 2, Granny's Heart. Day 3, Potholder. Day 4, Frilly Heart. Day 5, Lacey Heart. Day 6, Cross stitched Heart. Day 7, Danish Heart Basket. Day 8, Raspberry Glaze, Day 9, Sunburst Granny Heart. And Today's post is 10, A Line of Hearts. 

Saturday, February 9, 2013

{10 Days of Hearts} Day 9. Sunburst Granny Hearts

The Sunburst heart is big and beautiful. I have used previously to make a wedding present for a friend. I also have one hanging on my wall! The pattern is from Bunny Mummy, click here to find the pattern.

The version on my wall uses thick 12ply yarn and a 6mm hook.


Please take a moment to have a look at Bunny Mummy's blog, she has a lot of great patterns, and has a great sense of colour! Find her at bunnymummy-jacquie.blogspot.com